I’ve always considered myself a pretty decent baker, able to turn out some tasty cookies or cakes. But a move to Colorado some five years ago changed all that. Nothing was turning out quite the way it should. Cakes fell and cookies spread out too wide. It was depressing and so I relied more and more on premade cookie dough and cake mixes, which at least had high altitude instructions and came out more reliably than most scratch recipes. But I missed the satisfaction of making things from scratch. However, I recently discovered a ridiculously simple brownie recipe that proved a huge success.
It all started one day when I was cleaning out my cabinets and came across a canister of Ghirardelli Natural Unsweetened Cocoa. I had no idea why I had bought this but I wasn’t about to throw it out, so off I went in search of a brownie recipe that used powder instead of solid chocolate like so many of them do.
I came across a recipe that I have made twice so far. It contains a sinful amount of butter but for a special occasion it’s worth it! However, because of that amount of butter, you do have to pay special attention to the baking time. I underbaked it a bit the first time and it was a bit hard to get out. The next time for Valentines I made it in my Wilton Valentine’s Brownie Pan that I got a number of years back and I sprayed it with baking spray with flour.
I baked it exactly 25 minutes and then let it cool. Because these brownies are a bit soft and gooey in the center (the way I like them) it’s critical to let them cool, otherwise they can be a mushy mess. Some bakers will line an 8 by 8 dish with two pieces of parchment, so that you can lift the brownies out, but with a brownie pan, everyone will have an easy-to-hold brownie, with crispier edges. It’s a personal preference, but I like the brownie pan method. I really like the convenience of every brownie coming out the same and not having to dig them out of the pan. I'm ordering this one below from
Pfaltzgraff:
 |
| My Wilton Valentine's Brownie Pan |
 |
| Pfaltzgraff Brownie Pan |
What you’ll need:
- 10 tablespoons (1 1/4 sticks) unsalted butter
- 1 1/4 cups sugar
- 3/4 cup plus 2 tablespoons unsweetened cocoa powder (natural or Dutch process)
- 1/4 teaspoon salt
- 1/2 teaspoon pure vanilla extract
- 2 large eggs
- 1/2 cup all-purpose flour
- 1 teaspoon instant coffee crystals (optional)
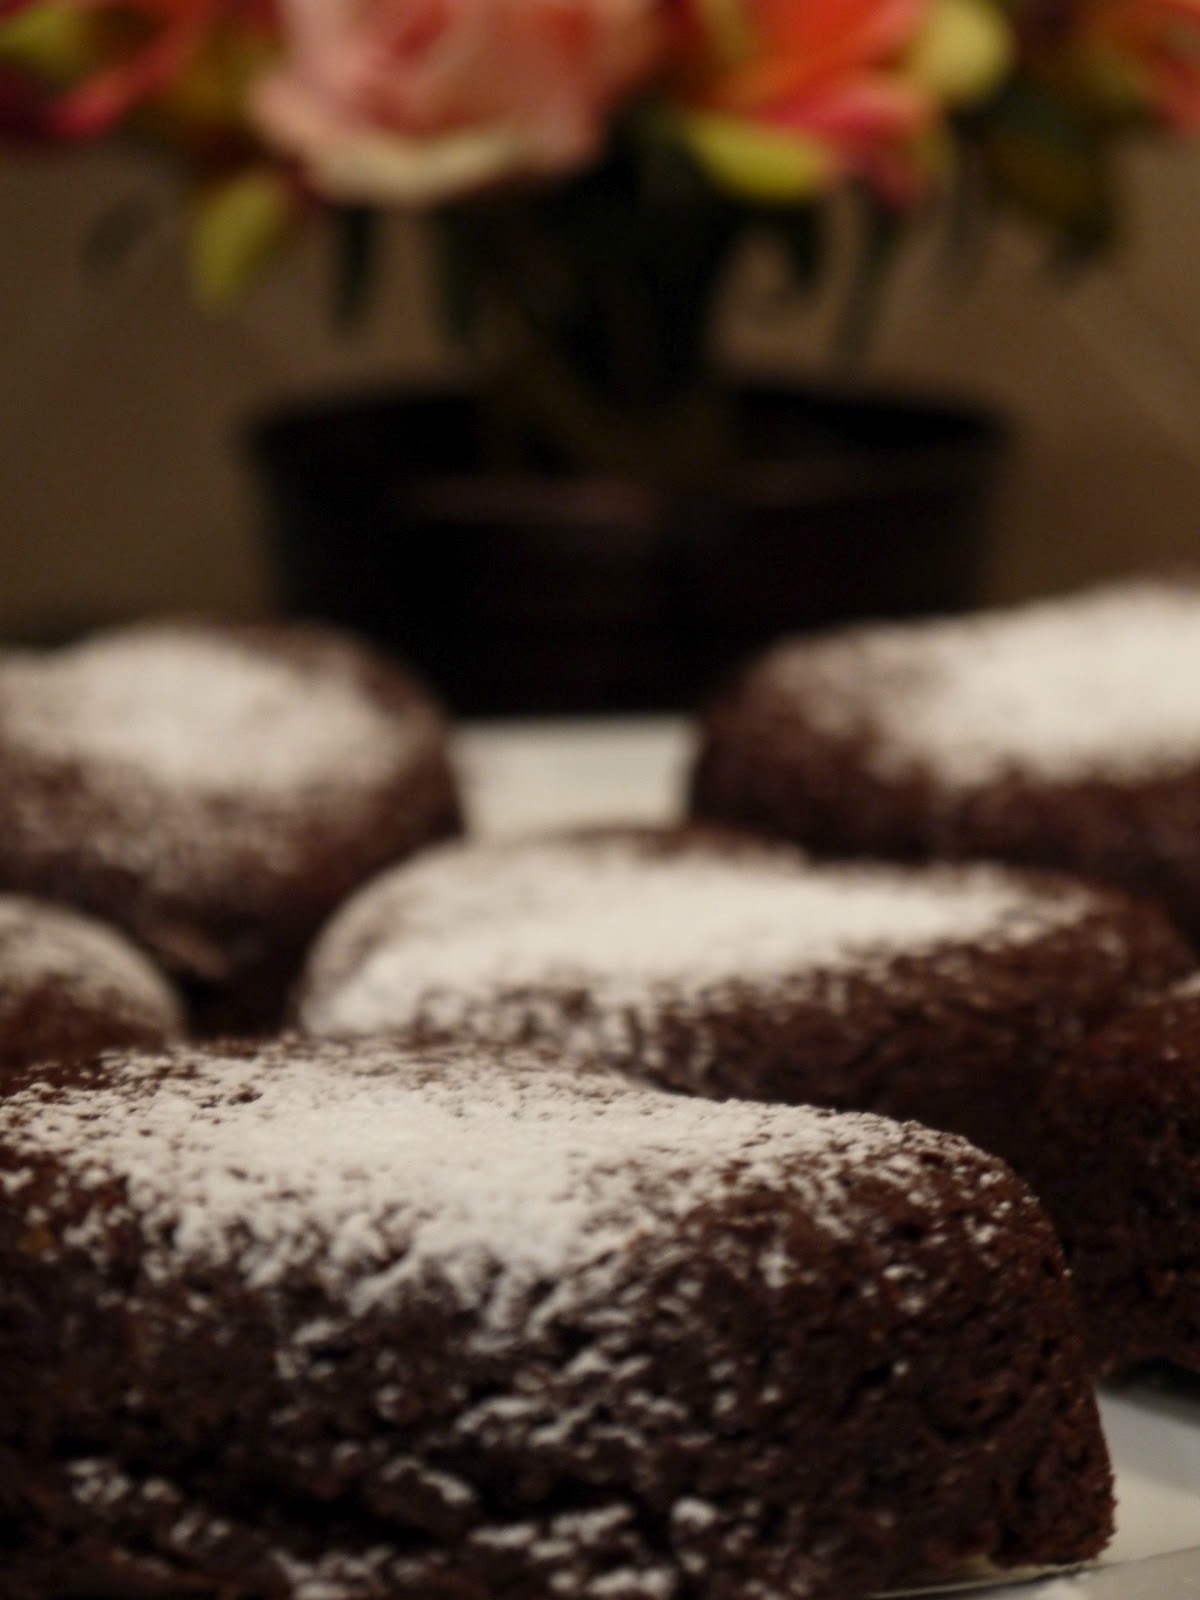
 |
| The finished product! |
- Powdered sugar for dusting (optional)
Preheat the oven to 325 degrees and position rack in lower third of oven.
Put the butter, sugar, cocoa, and salt in a medium heatproof bowl and place the bowl in a wide skillet of gently simmering water. (note: one with a handle is the best, because it’s hard to remove the bowl otherwise. If you don’t have one like this, just plan ahead and have good hot pads or oven mitts, because using a dish towel like I did is not a good idea.) Stir occasionally until the butter is melted and the mixture is smooth. Remove the bowl and set aside briefly until the mixture is only warm, not hot.
If you want to add the coffee, do it in the previous step. I learned that trick from the Barefoot Contessa and now I always make brownies or anything chocolate with some instant coffee or espresso as it gives it more depth of flavor.
Stir in the vanilla and mix with a wooden spoon. Beat the eggs gently in a separate bowl and slowly add the eggs to the mixture. Then add the flour, blend in until you can no longer see it, and stir it for about 40 strokes.
Bake until a toothpick comes out slightly moist with batter, 20 to 25 minutes. Let cool completely before trying to remove or invert your brownie pan. Sprinkle with powdered sugar.